Low Cost Sensor Systems
Objectives
Low-Cost
Equipment for remote environmental monitoring can be very expensive. High expense can limit spatial and temporal resolutions in environmental data collection. This may be especially debilitating in cases where sensors are:
- deployed for short periods of time, such as in model calibrations
- deployed sacrificially, such as when extreme weather events are monitored
- and, needed where resources are scarce, such as developing countries and many research organizations
Data Interoperability
Another common issue with environmental data management is data interoperability. This can be hard to maintain but doing so maintains the value of the data and can even increase it as they are able to be shared and used collaboratively. Data interoperability may be an extra challenge when using a sensor configured and assembled yourself. To facilitate data interoperability, our goal was to have the low-cost hardware system automatically input collected data into HydroServer Lite.
Our System
Using widely-available, mass-produced electronics, we have built low-cost environmental monitoring systems . This work has been influenced by similar projects including the work by the Stroud Research Center.
The system consisted of the following parts.
| Part | Purpose | Price |
| Arduino Uno | Microcontroller | $25 USD |
| DHT22 Temp/RH | Sensor | $12 USD |
| SDI-12 Pressure Transducer | Sensor | |
| Sim 900 GPRS Board | Data Transmission | $40 USD |
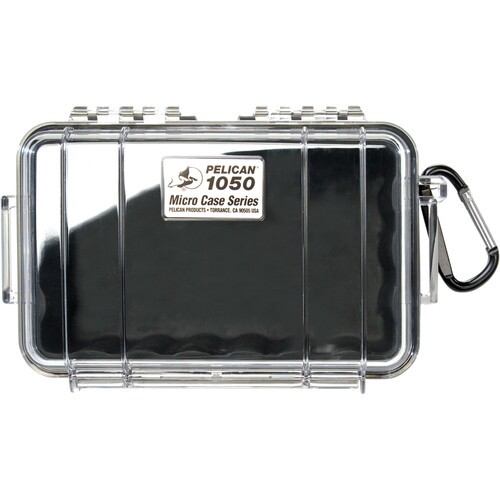
| Pelican 1050 Micro | Case | $15 USD |
| 6W Panel + 15 W-Hr Battery | Solar Power | $85 USD |
Below is a basic description of each of the components. So far we have used two different sensors. The first was a DHT22 temperature and humidity sensor. The second was and SDI-12 pressure transducer.
- Details on DHT22 Temperature and Humidity project.
- Details SDI12 Pressure Transducer project
- Connection from low-cost hardware to HydroServer Lite

Microcontroller – Arduino Uno
The centerpiece of our system is the Arduino Uno, an open-source hardware prototyping platform. There are a lot of reasons why Arduino fits great into this project.
- It’s inexpensive. We got ours for $25 USD from adafruit.com
- It’s easy to use. Programs (or “sketches”) are written in the free Arduino IDE. The IDE uses a language based on C++ and there is a lot of learning and help material out there on Arduino’s website and all over the internet.
- It’s sophisticated enough to do the job but simple enough to be very reliable.
- Power consumption is low relative to mini computers such as Raspberry Pi and BeagleBone. This was important as we wanted to run our device off the grid for some deployments.
Photo: http://en.wikipedia.org/wiki/Arduino

Sensors
- DHT22 Temperature and Relative Humidity Sensor
The first sensor we used was the DHT22 Temperature and Humidity sensor. We chose this because of its ease of deployment and it’s price (~$12 USD on Adafruit).

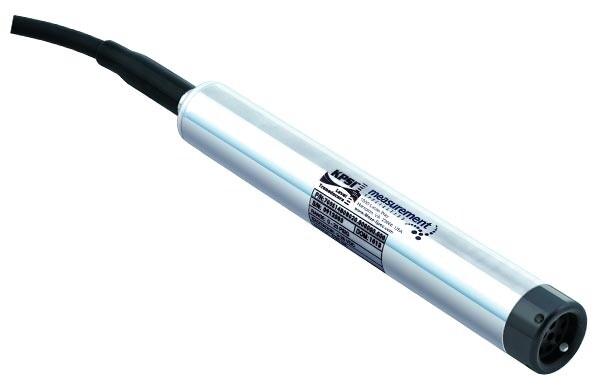
SDI-12 Pressure Transducer
SDI-12 is an abbreviation for Serial Data Interface at 1200 Baud. It is a rather common digital sensor communication protocol used by a variety of environmental sensors. You can read more about SDI-12 at its website, SDI-12.org. The specific sensor we used was the KPSI 501. It was generously donated for use in our resesarch by Measurement Specialties.
Data Transmission – SIM 900 Board
The SIM900 uses the GSM cell phone network that works throughout the world. In addition, the SIM900 uses very little energy to transmit data. Ours cost about $40 USD

Case
The Pelican 150-microcase is dust proof, crush proof, and water resistant. It gives effective protection from the elements while being relatively inexpensive (~$15 USD).
Solar Power System
A small 6W panel generates enough power to continually power the sensor. A 15W-hr battery is needed to store extra energy for the night. These can be purchased together for ~$85 USD.